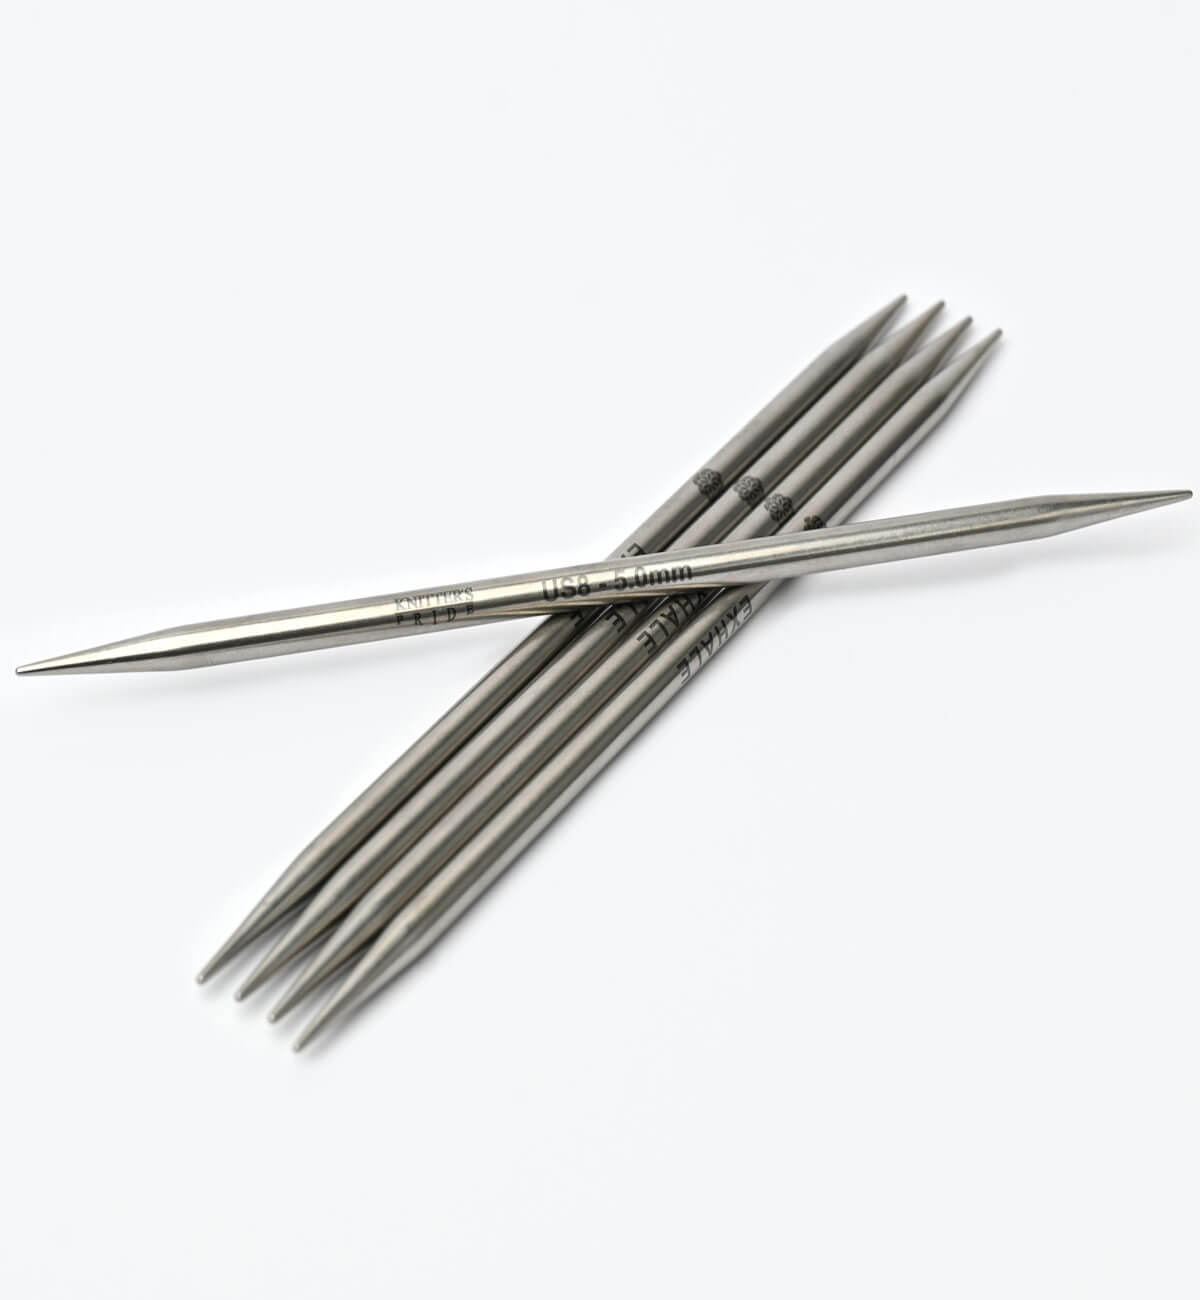
Knitting on double-pointed knitting needles (dpns) may look a bit fiddly and seem quite challenging at first, but it is actually quite easy once you have got around to managing the needles in your hand. Compared to knitting on circular needles, knitting seamless items on double-pointed needles will give you more freedom in choosing your projects, too, as you no longer will overstretch the fabric on your cord in case you need to cast on a smaller number of stitches.
You knit the stitches from one needle to another at a time while letting the others hang loose. As there are no fixed end caps on your dpns, it is possible to easily join three, four or even five needles to a seamless shape. You are always facing the right side of your WIP and consequently create a seamless, tubular item.
Before getting started, check out these five essential tips on how to knit in the round with four double pointed knitting needles.
Cast on your stitches on one needle.
Actually, as with single-pointed needles, we recommend joining two needles for your cast-on, as casting on two needle circumferences avoids a lot of needless poking and fumbling when knitting your first round. Just slip the second needle out after finishing your cast-on. The loops will be slightly wider than and allow you to knit them effortlessly. While crafting the first round you then add further needles to your work as you go. If you are unsure, you can also just slip the stitches onto all your dpns first and then move on to knit the first round.
Make sure the loops are not twisted.
In order to avoid that your tube will later be a twisted mess, it is essential to pay attention to the direction of your loops when adding the needles during the first row, and particularly, when joining your four needles to a round, – or rather a square.
Avoid ladders in the intersections between the needles
If you hold the needles too far apart when switching from one needle to the next, the first and the last stitch on your needle might look a bit wonky and create a visible ladder. In order to avoid the laddering at the needle intersections, make sure you have the needle tip in your right hand (i.e. the one you are knitting with) placed over the next needle to avoid any open spaces. If you are purling your stitches it works the other way round, i.e. your right hand needle tip should be under the left hand needle to avoid enlarged stitches. If it is still happening, don’t worry. Blocking your item will help adjust all stitches evenly.
The beginning of a round is another matter. To avoid a gap try rearranging the stitches on your first needle after your first round and place a stitch marker to mark your beginning. Your round starts after the first stitch or in the middle of your needle. This trick will avoid any visible steps between the rounds.
Prevent your stitches from falling off the end
This is the biggest challenge when knitting with dpns, – avoiding your loops from sliding over the ends. Even if you are a fast knitter on your single pointed or circular needles, managing four double pointed needles full of stitches can still be tough. Try managing wooden or bamboo needles first before moving on to faster, metal ones.

